Quick Solution: 5-Minute Chain Lube Process
What you need: Chain lube appropriate for your bike type, rear stand, and clean rag
- Set up (30 sec): Put bike on stand, transmission in neutral
- Quick clean (1 min): Wipe the chain with a rag while rotating the wheel backward
- Apply lube (2 min): Spray inside of chain while rotating wheel
- Wait & wipe (1 min): Let sit 30 seconds, wipe excess
- Check (30 sec): Inspect chain condition and tension
Always consult your owner’s manual for bike-specific recommendations
Properly lubricating your motorcycle chain is one of the most critical maintenance tasks you can perform to extend the life of your drivetrain and ensure smooth, safe riding. Many riders put this off because they think it’s complicated or time-consuming, but with the right technique, you can properly lube your chain in just 5 minutes. As someone who’s maintained motorcycles for over 15 years, I’m sharing my proven method for quick, effective chain maintenance.
Why Regular Chain Lubrication Matters

Before diving into the how-to, it’s worth understanding why this maintenance task is so important:
- Prevents premature wear: A well-lubricated chain experiences less friction and lasts significantly longer
- Improves performance: Reduces power loss and ensures smooth power delivery
- Prevents rust and corrosion: Especially important if you ride in wet or salty conditions
- Saves money: Chain and sprocket replacement is expensive – regular maintenance is much cheaper
How Often Should I Lube My Motorcycle Chain

This is one of the most common questions riders have, and the answer depends on several factors:
Manufacturer Recommendations (Primary Guide)
- Street bikes: Most manufacturers recommend every 500-600 miles, but this varies by brand and model
- Sport bikes: Often need lubrication every 300-400 miles due to higher RPMs and chain stress
- Dirt/off-road bikes: May need lubrication after every ride or every 100-200 miles
Riding Conditions That Require More Frequent Lubrication
- After riding in rain or wet conditions (immediately after the ride)
- After washing your motorcycle
- Dusty or sandy environments (desert riding)
- Extremely hot weather (lubricant evaporates faster)
- Long-distance touring (check morning and evening on multi-day trips)
- Racing or aggressive riding
Visual/Tactile Indicators
- Chain looks dry or has rust spots
- Chain makes noise (squeaking or chattering)
- Chain feels stiff when manually rotating the rear wheel
- You can see dirt buildup on the chain links
Bottom line: Check your owner’s manual first, then adjust based on your specific riding conditions. When in doubt, it’s better to lube too frequently than not enough. Set calendar reminders on your phone or keep a small maintenance log to stay on schedule.
What You’ll Need
- Chain lubricant (specific for your motorcycle type – see “Choosing the Right Lubricant” below)
- Rear stand or center stand
- Clean rags or paper towels
- Chain cleaner (optional but recommended)
- Rubber gloves (optional)
- Your motorcycle’s owner’s manual (for reference)
Choosing the Right Lubricant
Not all chain lubricants are created equal. Your selection should depend on:
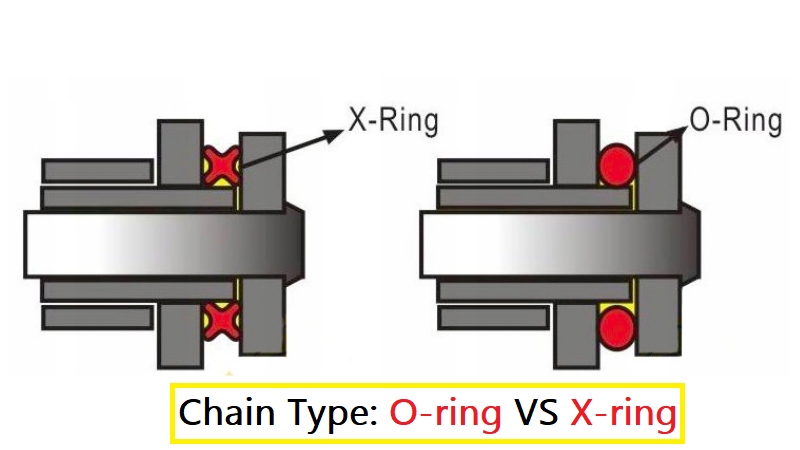
- Chain type: O-ring, X-ring, or non-sealed chains require different products
- Riding conditions:
- Dry/dusty environments: Wax-based lubricants attract less dirt
- Wet/rainy conditions: Heavy oil-based or synthetic lubricants provide better water resistance
- General street use: Medium-viscosity lubricants balance protection and cleanliness
- Manufacturer recommendations: Some bike manufacturers specify preferred lubricant types
Best Motorcycle Chain Lubes Available in the USA
Wax-Based Lubricants (Best for Clean Operation)
- Maxima Chain Wax ($15-18)
- Pros: Excellent dirt resistance, doesn’t fling off, leaves a clean finish
- Cons: Needs more frequent application, less effective in heavy rain
- Best for: Street riders concerned about cleanliness, desert/dusty conditions
- DuPont Teflon Chain-Saver ($8-10)
- Pros: Affordable, dries completely, minimal fling-off
- Cons: Requires thorough chain cleaning before application
- Best for: Budget-conscious street riders, cleanliness-focused maintenance
Oil-Based Lubricants (Best for All-Weather Protection)
- Motul Chain Lube Factory Line ($14-16)
- Pros: Outstanding adhesion, extreme pressure additives, excellent water resistance
- Cons: Premium price, can attract dust in extremely dirty conditions
- Best for: Sport bikes, all-weather riders, high-performance applications
- Lucas Oil Chain Lube ($9-12)
- Pros: Good penetration, tacky formula stays put, widely available
- Cons: Can fling at very high speeds, slightly messy application
- Best for: Cruisers, touring bikes, everyday commuters
Synthetic/Ceramic Lubricants (Best for Longevity)
- PJ1 Blue Label Chain Lube ($12-15)
- Pros: Exceptional durability, high-temperature resistance, good penetration
- Cons: Strong odor, can be messy to apply
- Best for: High-performance bikes, track day enthusiasts
- Bel-Ray Super Clean Chain Lube ($13-16)
- Pros: Molybdenum additives reduce wear, good all-around performers
- Cons: Premium pricing, thick application requires careful wiping
- Best for: Premium bikes, riders seeking long chain life
Specialized Formulations
- Wurth Dry Lube ($18-20)
- Pros: Ceramic-based, extremely low friction, almost no fling-off
- Cons: Expensive, less common in retail stores
- Best for: Track bikes, show bikes requiringa clean application
- Motorex Chain Lube 622 ($16-19)
- Pros: Professional-grade formula, exceptional wet-weather protection
- Cons: Premium price, can be harder to find
- Best for: Adventure riders, wet-weather commuters, motorcycles subjected to extreme conditions
Best All-Around Options
If you’re looking for a solid “one-size-fits-most” option that performs well in varied conditions:
- Motul C2 Chain Lube Road – Best overall balance of protection, cleanliness, and longevity
- Maxima Chain Wax – Best for riders prioritizing cleanliness
- Lucas Oil Chain Lube – Best budget-friendly option widely available
Remember: The “best” lube ultimately depends on your specific motorcycle, riding style, and local conditions. Many experienced riders keep two types on hand: A wax-based formula for dry conditions and an oil-based one for wet weather.
5-Minute Chain Lubrication Process
Step 1: Prepare Your Motorcycle (30 seconds)
- Find a well-ventilated area to work in
- Place your motorcycle on a rear stand or center stand
- Put the transmission in neutral
- Make sure the engine is cool
Step 2: Clean the Chain (Optional but Recommended – 2-4 minutes)
If your chain is very dirty, cleaning it will help the lubricant adhere better:
- Hold a rag lightly against the bottom run of the chain
- Rotate the rear wheel backward with your other hand
- For stubborn dirt, choose one of these cleaning methods (ordered from gentlest to most aggressive):
- Light cleaning: Spray a small amount of chain cleaner on a rag and wipe
- Moderate cleaning: Apply dedicated motorcycle chain cleaner according to product instructions
- Deep cleaning: Use a chain cleaning brush or tool with appropriate cleaner (may exceed the 5-minute timeframe)
- CAUTION: Never use high-pressure water, harsh degreasers, or gasoline, as these can damage the O-rings or X-rings in sealed chains
Note for beginners: This step may take longer than 2 minutes your first few times. With practice, you’ll get faster.
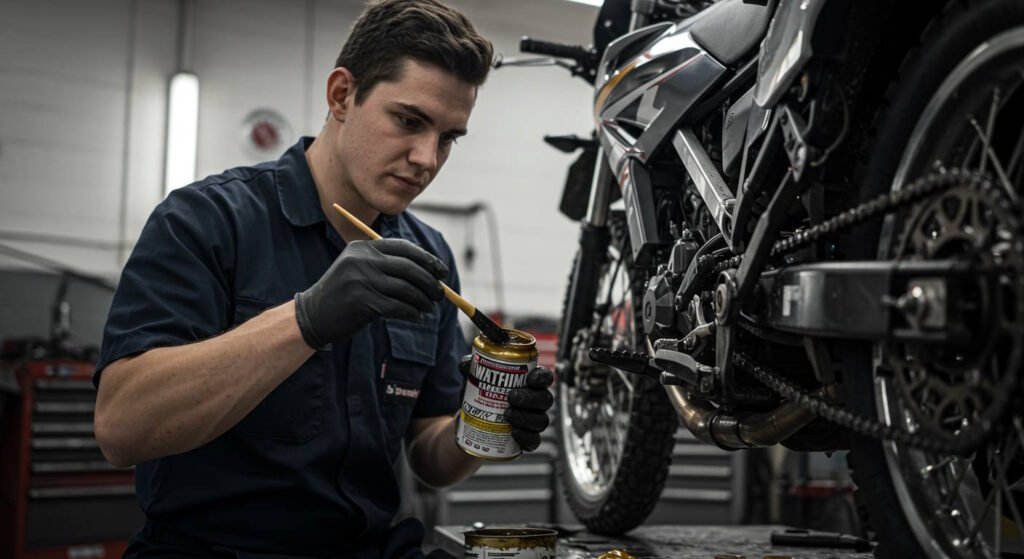
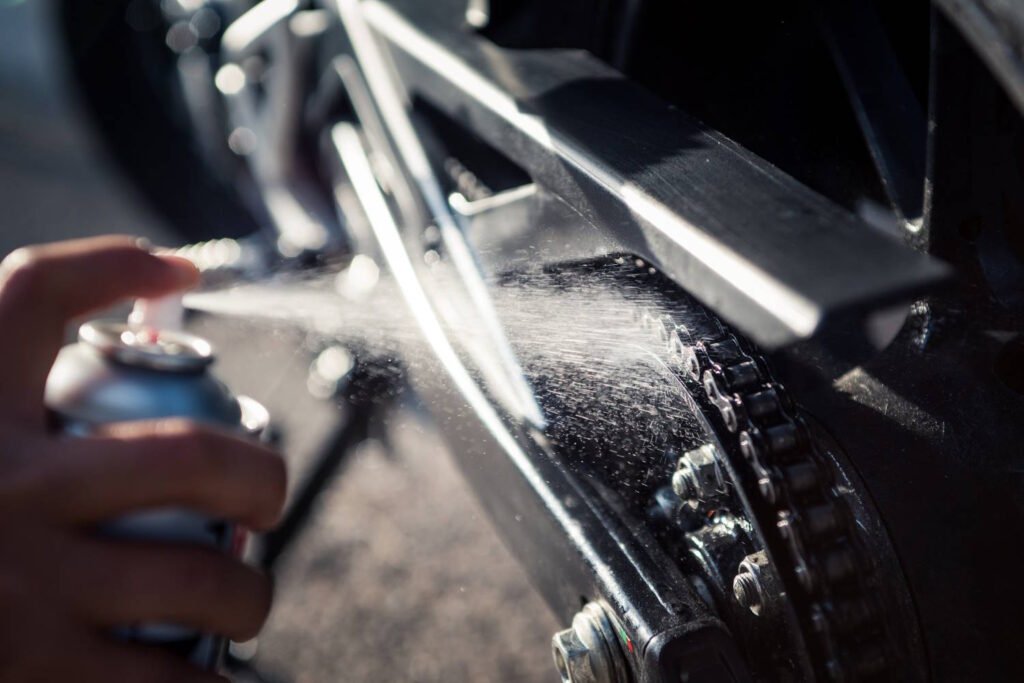
Step 3: Apply Lubricant (2-3 minutes)
- Shake the lubricant thoroughly (follow specific product instructions)
- Aim the spray at the inside center of the chain (the side facing the sprockets)
- Slowly rotate the rear wheel backward while spraying
- Apply a consistent, light coating to the entire chain
- Focus on the roller areas where the chain meets the sprockets
Application technique by lubricant type:
- Spray lubricants: Hold can 2-4 inches from the chain, apply a thin, even coat
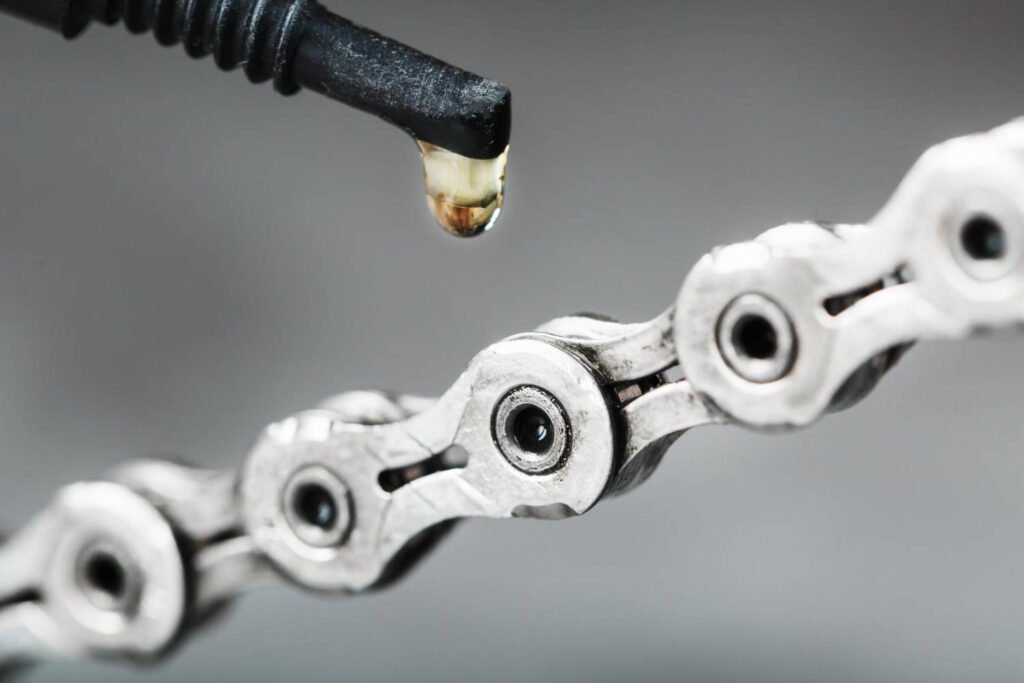
- Drip lubricants: Apply small drops to the inner lower portion of chain links
- Wax-based products: May require longer set-up time; read manufacturer directions
Note: Some manufacturers recommend lubricating only specific parts of the chain. Honda, for example, often specifies focusing on the rollers rather than the side plates for certain models. Check your manual for specifics.
Step 4: Remove Excess Lubricant (30 seconds)
- Let the lubricant set for about 30 seconds
- Lightly wipe off excess lubricant with a clean rag
- Excess lube can fling onto your rear tire or collect dirt, so don’t skip this step
Step 5: Final Check (1 minute)
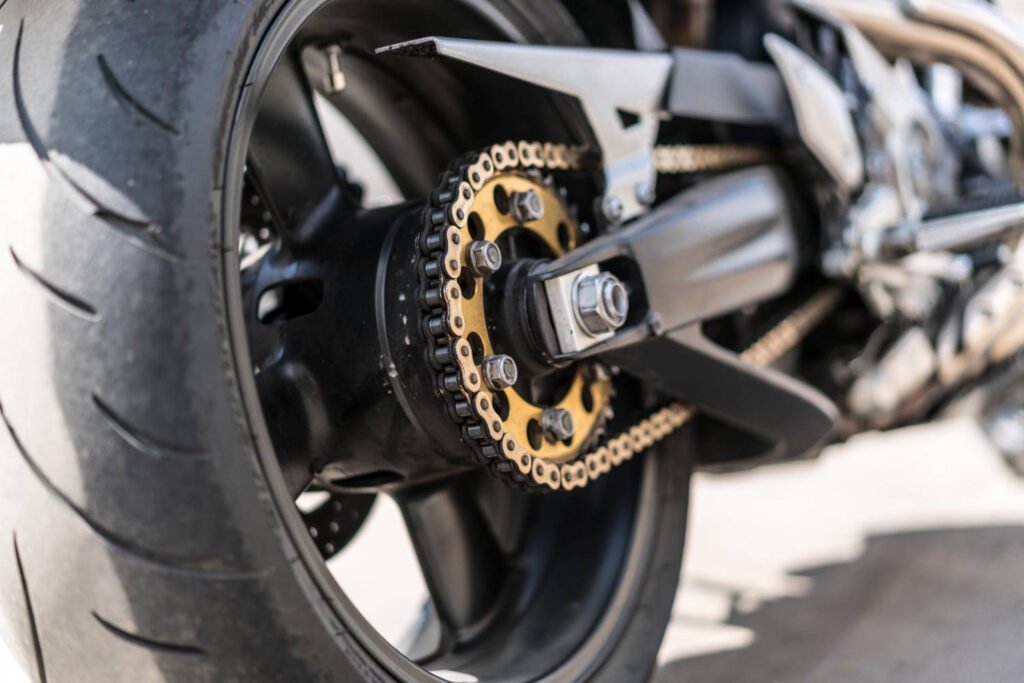
- Inspect the entire chain by rotating the wheel
- Check for tight spots, kinks, or damaged links
- Verify proper chain tension (consult your owner’s manual for specifications)
- Remove your bike from the stand
Pro Tips for Chain Maintenance
- Timing matters: Lube your chain at the end of your ride when the chain is warm, then let it sit overnight so the lubricant can penetrate
- Quality products: Invest in a good chain lubricant specifically designed for motorcycle chains with O-rings or X-rings
- Consistency is key: Regular short maintenance sessions are better than infrequent deep cleanings
- Consider your riding conditions: Dusty, wet, or off-road riding requires more frequent lubrication
- Keep records: Track your maintenance in a notebook or app to ensure you’re following proper intervals
- Inspect while you lube: Use maintenance time to check for loose fasteners or other issues
- Chain slack changes: Remember that chain tension often needs adjustment as the chain wears
- Manufacturer-specific tools: Some bikes (particularly Japanese and European models) benefit from specialized chain maintenance tools designed for that brand
What to Avoid

- Incorrect lubricants: Don’t use WD-40, household oils, or engine oil as your primary chain lubricant (though some mechanics do use WD-40 as a temporary cleaner in specific situations)
- Pressure washing: Never pressure wash your chain as it can force water past the seals
- Over-lubrication: Excess lube attracts dirt and can fling onto your wheel, bodywork, or even your rear tire (creating a safety hazard)
- Lubing dirty chains: Applying lubricant over significant dirt buildup reduces effectiveness and creates abrasive paste
- Inconsistent maintenance: Don’t wait until your chain is squeaking or showing rust
- Incorrect tension: Always verify proper chain slack according to manufacturer specs after maintenance
- DIY solutions: Home-made lubricants lack the specialized properties of commercial products
- Incompatible products: Don’t mix different brands of cleaners and lubricants without ensuring compatibility
When to Replace Your Chain
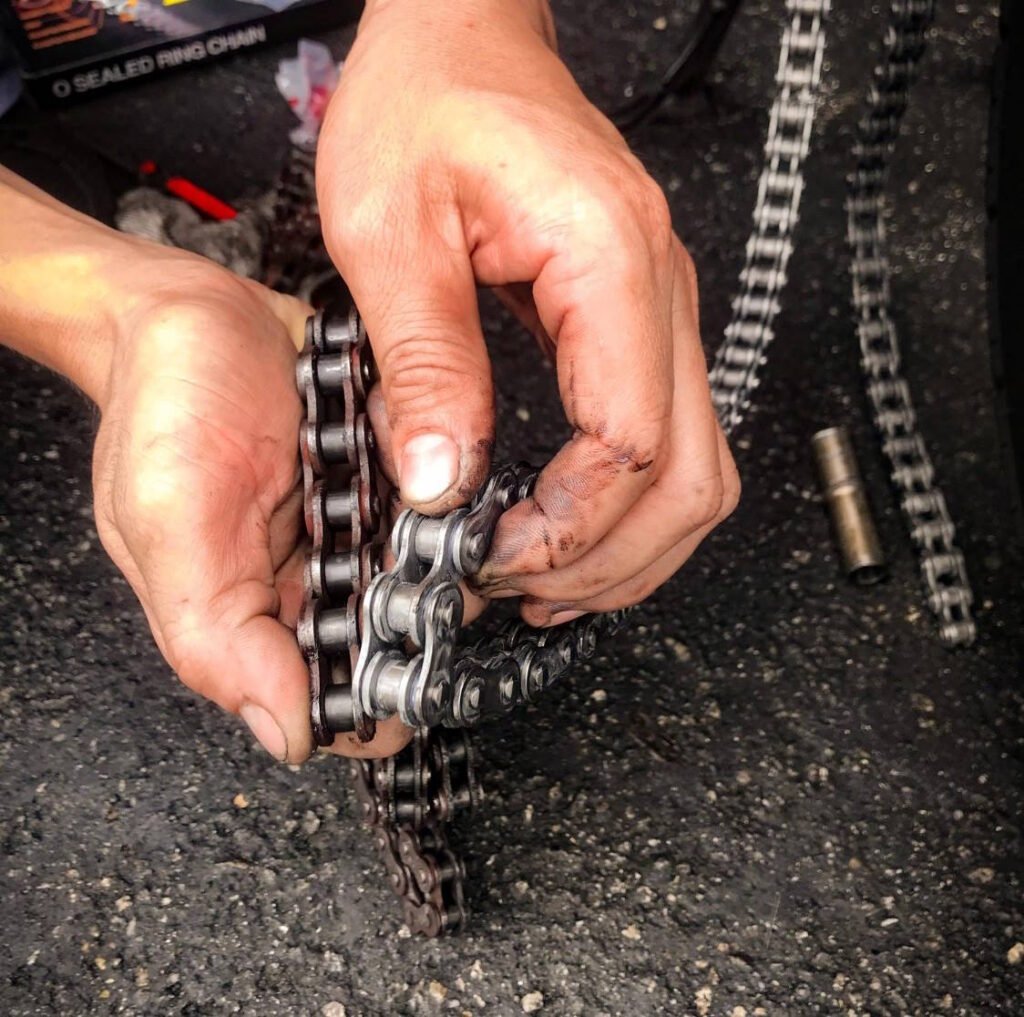
Even with perfect maintenance, chains eventually wear out. Check your owner’s manual for the chain slack specifications and inspect for:
- Visible rust that doesn’t clean off
- Stiff links that don’t flex properly
- Noticeable stretching (exceeding adjustment limits)
- Worn sprocket teeth (curved or pointed teeth)
Manufacturer-Specific Considerations
Different motorcycle brands may have specific requirements:
- Japanese bikes (Honda, Yamaha, Kawasaki, Suzuki): Often specify exact chain slack measurements and maintenance intervals in millimeters
- European bikes (BMW, Ducati, Triumph): May recommend specific lubricant types and have unique tensioning systems
- American bikes (Harley-Davidson, Indian): Often have different chain/belt maintenance procedures
- Dual-sport/Adventure bikes: May have specific recommendations for changing lubrication types based on terrain
Conclusion
Spending just 5 minutes every few hundred miles (or according to your manufacturer’s specifications) to properly lubricate your motorcycle chain will extend the life of your entire drivetrain, improve your bike’s performance, and potentially save you hundreds in replacement costs. While the process is simple enough to complete in 5 minutes with practice, the benefits to your motorcycle are substantial. Make this quick maintenance task part of your regular riding routine, and your motorcycle (and wallet) will thank you.
Disclaimer: Always consult your motorcycle’s owner’s manual for the manufacturer’s specific recommendations regarding maintenance intervals, products, and procedures. This guide provides general information that may need to be adapted to your specific motorcycle model.