Thinking about removing your vehicle wrap? Whether you’re preparing for a new design or restoring your car to its original look, proper removal techniques protect your paint and save you money.
What You’ll Need
- Automotive soap and microfiber towels
- Heat source (heat gun or infrared heater)
- Plastic razor tool or wrap removal tool
- Isopropyl alcohol (70-91%)
- Citrus-based adhesive remover
- Plastic scraper
- Clean microfiber cloths
Step 1: Clean Your Vehicle
Start with a thoroughly clean surface. Wash your vehicle with automotive soap to remove all dirt and debris. This prevents scratches during the removal process and gives you a clear view of the wrap.
Step 2: Apply Heat Correctly
Heat is the key to successful wrap removal. Warm the vinyl to approximately 110-125°F (43-52°C) using your heat gun or heater. Work in small sections and avoid overheating, which can cause adhesive transfer to your paint.
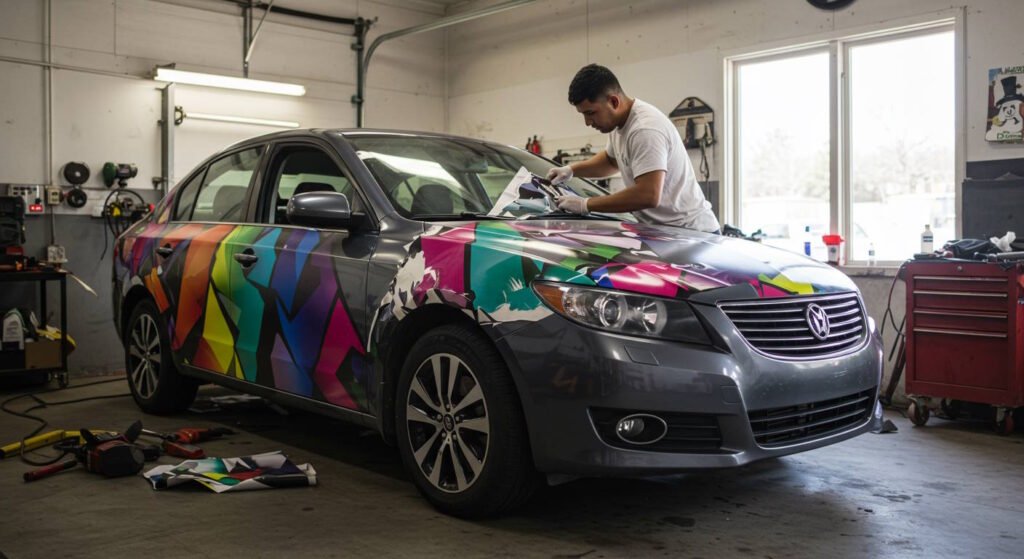
Step 3: Peel with Precision
Once heated, carefully lift an edge using your plastic tool. Pull the vinyl slowly at a 10-15 degree angle (almost parallel to the surface). Maintain even tension across the edge to prevent tearing. As sections come off, trim them away to keep your workspace manageable. Sometimes things can get out of hand – if you notice your paint coming off with the wrap, professional help is recommended to avoid damaging your car.
Keep in mind, the cost to remove a vehicle wrap generally ranges from $500 to $2,500 or more, depending on factors like the size of the vehicle, the age and condition of the wrap, and the complexity of the removal process. Smaller vehicles or newer wraps in good condition might cost closer to $500, while larger vehicles or older, “baked-in” wraps could reach $2,500 or more.
Step 4: Remove Adhesive Residue
After removing the vinyl, you’ll likely find adhesive residue on your paint. For light residue, wipe with isopropyl alcohol on a microfiber cloth. For stubborn spots, apply citrus-based adhesive remover, let it sit for 30-60 seconds, then gently scrape with a plastic tool.
Step 5: Final Cleaning
Once all adhesive is removed, wash your vehicle again to neutralize any chemicals. Inspect the entire surface in bright light to ensure no residue remains. Did you know how to remove tree sap from a car?
Common Mistakes to Avoid
- Pulling vinyl at steep angles (causes tearing)
- Using excessive heat (damages adhesive and paint)
- Using metal scrapers (scratches paint)
- Rushing the process (leads to incomplete removal)
With patience and the right technique, you can successfully remove your vehicle wrap while keeping your paint in perfect condition. This DIY approach can save you hundreds compared to professional removal services. Check out how much does a vehicle wrap cost.
Check your Texas vehicle inspection history here. And have you successfully removed a vehicle wrap? Share your experience in the comments below!